Friday, April 4, 2025

Spring Greetings Floral Egg Trio - Simon Says Stamp

 Good morning! Today I'm sharing the cards that use the items leftover from yesterday's cards - although, I'm really not sure which one was the main items, and which one was the leftovers? Really, they just worked perfectly to get two complete cards sets! I'm using some recently released items from Simon Says Stamp for these cards as well.


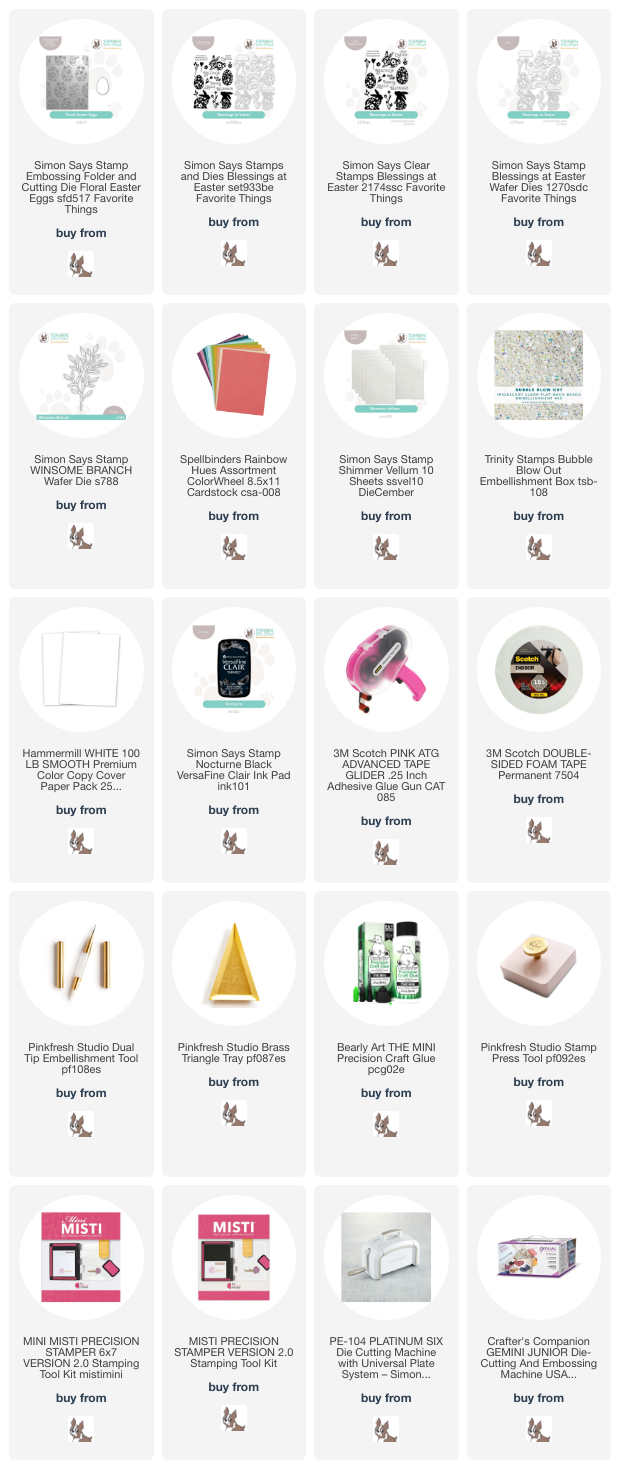
As I already mentioned, I used the full panels of Spellbinders cardstock that were embossed with Floral Easter Egg embossing folder from yesterday's cards. I utilized the negative space from the egg I die cut for those cards as a window or focal point for my sentiment. I added some Shimmer Vellum behind the shape on my cardstock, and popped the panels up with foam adhesive. Sentiments were from Blessings at Easter, and I added some tiny branches from Winsome Branch die. Finished off with a few sparkly Trinity Stamp iridescent bubble embellishments for sparkle. Here is a closer look at the finished set:


Product links are all below - including affiliate links where possible, which simply means if you use one of the links below that I receive a small commission at no additional cost to you. Thanks so much for stopping by! Have a wonderful day!!!


Thursday, April 3, 2025

Shiny Floral Egg Trio - Simon Says Stamp

 Good morning! I have a light and airy trio of cards today using some recently released items from Simon Says Stamp, and a fun technique to get a fun shiny card highlight! You can check out my Instagram HERE to see a quick process video of how I did it!


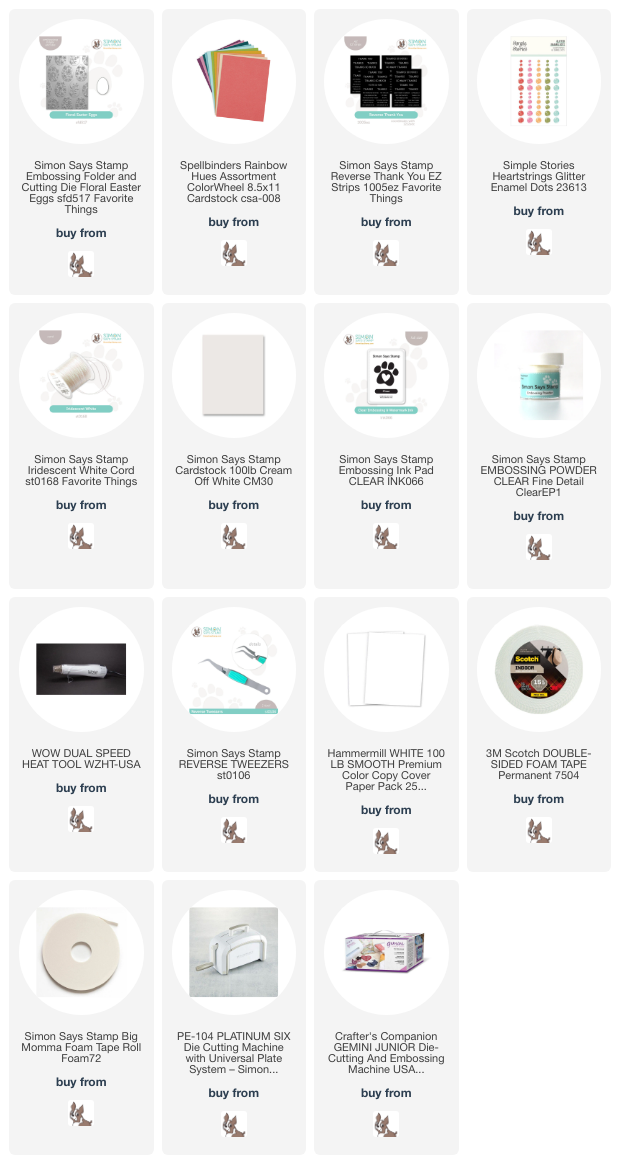
I started off by embossing the Floral Easter Eggs embossing folder from 3 colors of Spellbinders cardstock, and 3 times from Cream cardstock. I then used the included die to cut out one particular egg from the background. (Check back tomorrow to see how I put those backgrounds to use!). I then held the cut out embossed egg with reverse tweezers, smooshed the front of it directly into my clear embossing ink pad, then sprinkled with clear embossing powder and heat set. I did this 2-3 times to each egg to make sure it had a good coating of shine. Then, I adhered it over the cream background with a bit of foam adhesive, and wrapped some Iridescent twine around those panels, before adhering with foam adhesive to white cardsbases. Added sentiments from Reverse Thank You sentiment strips, and a few sparkly Simple Stories enamel dots to finish off! Here is a closer look at these cards:


Product links are all below - including affiliate links where possible, which simply means if you use one of the links below that I receive a small commission at no additional cost to you. Thanks so much for stopping by! Have a wonderful day!!!


Wednesday, April 2, 2025

Floral Layered Sorry Cards - Simon Says Stamp

  Good morning! I have a couple floral layered cards to share today with some supplies from Simon Says Stamp. I also have a couple cards up on the Simon Says Stamp blog today, and these cards started off with some leftovers from those cards actually! You can see those cards HERE if you want more info - I love how they came out!


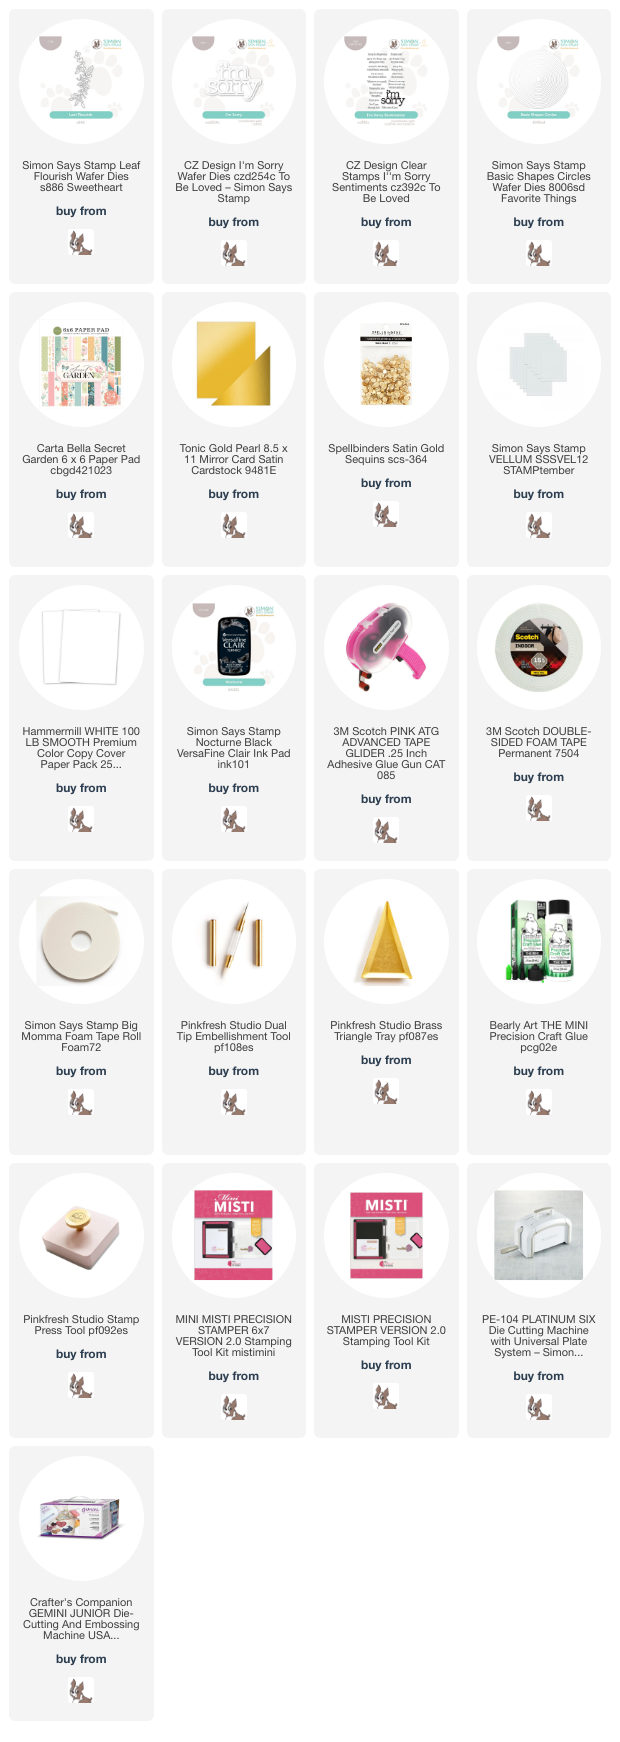
The circles are what I started off with for these cards - leftover from the windows I cut in the cards shared on the SSS blog today using Basic Circles dies. I added some more pattern paper from the same Carta Bella Secret Garden paper pad for a background and used extra bits to add stripes behind the circles. I also die cut Leaf Flourish from white cardstock, and trimmed in half to tuck behind both windows. Sentiment uses I'm Sorry die, cutting the main word from Gold Pearl cardstock, then the shadow layer from white cardstock and vellum, stacking together to soften the white cardstock slightly. Secondary sentiment is from the I'm Sorry sentiments stamp set, stamped in black and trimmed to add. Finished off with a few Spellbinders Satin Gold flat sequins for some finishing sparkle! Here are more photos of these cards:


Product links are all below - including affiliate links where possible, which simply means if you use one of the links below that I receive a small commission at no additional cost to you. Thanks so much for stopping by! Have a wonderful day!!!


Sunday, March 30, 2025

Love You Floral Circle - Simon Says Stamp

 Hello! I had a bit of time to play this weekend, and randomly started putting together a few items I had leftover from other projects, or just items that I hadn't ended up using for one reason or another. All supplies are from Simon Says Stamp, and it was super fun to give them some new life!


I started off with an embossed background using Pinnacle Hearts on white cardstock for some simple background texture. I layered together a couple of circles die cut with Basic Circles from white and black cardstock, then layered over some leftover stamped and die cut florals from Blessings at Easter. They were stamped in Zest, Apple, Amethyst, Surf, and Dublin inks. Sentiment was a mix of the top sentiment from Loving Thoughts, and the larger sentiment at the bottom from Just a Note Notes, and I matted that one in black cardstock as well. Tucked some black and white baker's twine in there, tied in a bow, and popped a dot of Nuvo Drops in Blizzard in the center of each flower, then finished off with a few Surf Dazzling gems to finish off! Here is a closer look at this finished card:


Product links are all below - including affiliate links where possible, which simply means if you use one of the links below that I receive a small commission at no additional cost to you. Thanks so much for stopping by! Have a wonderful day!!!


Thursday, March 27, 2025

Vintage Soaring Swallows Cards - Simon Says Stamp Rain or Shine Release

Good morning! I'm back with a a couple more cards today featuring some new Rain or Shine Release from Simon Says Stamp! These cards use the same supplies for a two for one design, and shows two ways to use this one fabulous embossing folder! 


These were definitely a two for one design! I started off by embossing the Soaring Swallows 3 times - once each with white, Sage, and Rainforest cardstock. I then used the coordinating die to cut the swallows out of the sage one - I LOVE how perfectly they cut, and how detailed that image is! I did some ink blending with Pine ink on the Rainforest panel, and for the sage, I applied my clear embossing ink directly to the leaves, and added clear embossing powder and heat set. A fun way to add some texture and shine! I mounted the sage panel over the white embossed panel - that way the embossed white birds showed up in the negative space, then added some white splatters, and some splatters with the pine ink, smooshed on a clear block and picked up with a wet brush. In hindsight, I would have done it before adding the white birds, but I kind of like how it turned out with the splatters on the birds as well, so it worked out! For the deeper one, I added white and gold splatters, then adhered the sage birds over the top. Added sentiments from Loving Thoughts popped up with foam, and a few of the Cottontail Embellishment mix for added shine! Here is a closer look at these finished cards and all their details:


Product links are all below - including affiliate links where possible, which simply means if you use one of the links below that I receive a small commission at no additional cost to you. Thanks so much for stopping by! Have a wonderful day!!!

Wednesday, March 26, 2025

Some Bunny Loves You Treat Bag - Simon Says Stamp Rain or Shine Release

 Hello! Today I've got a cute little non-card project to share using some of the Rain or Shine Release from Simon Says Stamp! I definitely tend to gravitate more often to card projects, but every once in a while it's fun to branch out a bit!


For this project, I started off by die cutting out the pieces for the Gift Bag wafer die from white cardstock. Before assembling, I added a stenciled pattern on each side using Argyle Builder layering stencils, and Sprout, Fairway, and Lemonade inks. I masked off all the other elements to keep the pattern just on those two main areas. I also added ink to the handles. Once assembled, I added one of the cute bunnies from Ear-Resistibly Cute with foam adhesive, after heat embossing in white on kraft cardstock and die cutting. Stamped and die cut a sentiment from the same set, and popped up with foam on a tag die cut with a Label Tag die. Attached that to the bag with some Lawn Fawn white twine, and this cute little goodie bag is all finished! Here are a few more photos: 


Product links are all below - including affiliate links where possible, which simply means if you use one of the links below that I receive a small commission at no additional cost to you. Thanks so much for stopping by! Have a wonderful day!!!